Test Application
The Example\Demo directory contains a Windows-ready test application test.exe that demonstrates the capabilities of the geometric kernel c3d.dll. After starting test.exe, you must enter the license key and signature by selecting the “Help -> License key” menu item:
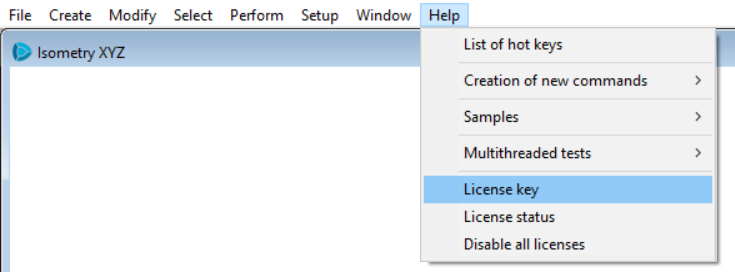
The Example\Models directory contains sample models as .c3d, .stp, .x_t, and .stl files that can be used by the test.exe test application.
The Example\Source directory contains the source code of the test.exe test application, as well as the CMakeLists.txt file for generating the project/solution of the test application.
To compile the C3D geometric kernel test application, follow these steps:
Create a new directory in a convenient location, for example “TestApp”.
In the <C3D> directory, select an archive that matches your development environment.
Copy the <Include>, <Debug>, and <Release> directories from the selected archive to the new directory.
Copy the <Source> directory from the <Example> archive to the new directory.
Make sure that the new directory contains four folders: <Debug>, <Include>, <Release>, and <Source>.
Install CMake, selecting the “Add CMake to the system PATH for all users” option during installation.
Create a test application project/solution by performing the following steps:
Run CMake version 3.24 or later.
For “Where is the source code”, specify the <path_to_testapp>\TestApp\Source directory.
For “Where to build the binaries”, specify the <path_to_testapp>\TestApp\Build directory.
Click the “Configure” button to configure the project/solution.
When prompted “Create Directory”, confirm creation of the <path_to_testapp>\TestApp\Build directory.
When prompted “Specify the generator for this project”, select the configuration of the development environment that corresponds to your C3D version.
Click the “Generate” button to generate the project/solution files.
Note: if the directory with the Qt5 distribution has been added to PATH, you can enable the “MathTest_QT” option in CMake to create a project that uses the Qt5 library instead of the Win32 API to create the application window.
On Windows, open the generated TestApp\Build\Test.sln test application solution in your development environment.
On Linux, you can use the following commands:
cmake -S Source -B Build -DCMAKE_BUILD_TYPE=Release  # optional, equivalent to step 7
cmake --build Build -- -j4 # Qt5 packages must be preinstalled, for example on Ubuntu with "sudo apt install qtbase5-dev qt5-qmake"
If you encounter issues when using CMake, you can use the ready-made Test.vcxproj project located in the Example directory (the project is prepared for MS Visual Studio, Unicode configuration, MS Windows). To build the project, copy the Test.vcxproj and Test.vcxproj.filters project files to the directory created in step 1, and open the Test.vcxproj test application project in your development environment.
To activate the C3D geometric kernel, you must write the received license key to the c3d.lic file. On Windows, the file is located in the USERPROFILE directory (C:\Users\user_name). On UNIX systems, the file is located in the HOME directory (/home/user_name).
After compilation, run the generated test.exe test application from the \Debug or \Release directory.
If you need to build the test application using Conan packages of the kernel and its examples (the c3d and c3d-examples packages), you can use the short instruction in the conanfile-examples-usage.py file in the \Source directory. To build the project, you must specify the kernel package version number.